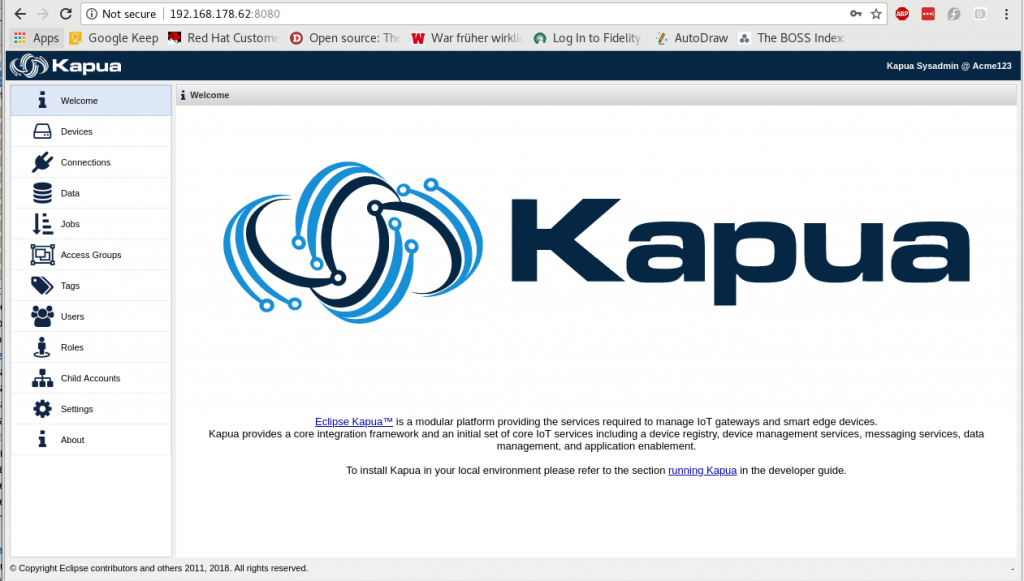
Today I start with taking a deeper look at Eclipse Kapua. It is a modular IoT cloud platform to manage and integrate devices and their data.
My goal for the next weeks will be to demonstrate a multi-tenant capable installation of Eclipse Kapua on OpenShift, connecting several IoT devices and gateways to it.
As a first step, I will setup Kapua as a standalone application using pre-built docker containers.
Then I will use a raspberry pi running Eclipse Kura to connect to Kapua and send test data.
Next steps will be the port to OpenShift making use of persistent storage and scalability. And connecting sensors to the raspberry pi gateways to send some useful data.
Setting up Kapua if you have a running docker service is fairly easy:
You need to have a 64bit architecture, Docker version > 1.2, roughly 8 GB of free RAM and access to the internet to fetch the pre-built containers from docker hub.
docker run -td --name kapua-sql -p 8181:8181 \
    -p 3306:3306 kapua/kapua-sql:0.3.2
docker run -td --name kapua-elasticsearch \
    -p 9200:9200 -p 9300:9300 elasticsearch:5.4.0 \
   -Ecluster.name=kapua-datastore \
   -Ediscovery.type=single-node \
   -Etransport.host=_site_ \
   -Etransport.ping_schedule=-1 \
   -Etransport.tcp.connect_timeout=30s
docker run -td --name kapua-broker --link kapua-sql:db \
    --link kapua-elasticsearch:es \
   --env commons.db.schema.update=true \
   -p 1883:1883 -p 61614:61614 kapua/kapua-broker:0.3.2
docker run -td --name kapua-console --link kapua-sql:db \
    --link kapua-broker:broker \
   --link kapua-elasticsearch:es \
   --env commons.db.schema.update=true \
   -p 8080:8080 kapua/kapua-console:0.3.2
docker run -td --name kapua-api --link kapua-sql:db \
    --link kapua-broker:broker \
   --link kapua-elasticsearch:es \
   --env commons.db.schema.update=true \
   -p 8081:8080 kapua/kapua-api:0.3.2
Each line will then fetch the container and start them.
In order to make the service accessible, I also add some firewall rules on my docker host:
firewall-cmd --add-port 8080/tcp
firewall-cmd --add-port 8081/tcp
firewall-cmd --add-port 1883/tcp
Thats all. Now you can acces the Kapua Web GUI on
http://<ip_of_docker_host>:8080

The default credentials are:
Username: kapua-sys

Password: kapua-password
Additionally there is a message broker running at
tcp://<ip_of_docker_host>:1883
Username: kapua-broker

Password: kapua-password
And a RESTful API under
http://<ip_of_docker_host>:8081/doc
Username: kapua-sys

Password: kapua-password
That really was easy. Lets see what we can do with it. Stay tuned for the next part: Installing Eclipse kura on a Raspberry Pi.
